Add an In-App Onramp with OnchainKit
In this tutorial, you’ll learn how to build an onchain app that checks a user’s wallet balance and either allows them to mint an NFT or prompts them to add funds. We’ll use the OnchainKit App Template as a starting point.Objectives
By the end of this tutorial you should be able to:- Set up a project using the Onchain Kit App Template
- Configure the app for to onboard users easily using Smart Wallets
- Implement balance checking and conditional rendering
- Use the Fund component to allow users to add funds to their wallet
Prerequisites
React and TypeScript
You should be familiar with React and TypeScript. If you’re new to these technologies, consider reviewing their official documentation first.OnchainKit
This tutorial uses Coinbase’s Onchain Kit. Familiarity with its basic concepts will be helpful.Access to the Coinbase Developer Platform
You’ll need to set up an account on with Coinbase Developer Platform (CDP) Account. The CDP provides various tools and services for blockchain development, including access to API endpoints and other resources that will be instrumental in your project. Once you’ve created your account, you’ll be ready to move forward with integrating these services into your application.CDP Configurations:If you see a “something went wrong” error message when navigating to pay.coinbase.com, make sure you have “enforce secure initialization” disabled on the Onramp config page in Coinbase Developer Platform Dashboard.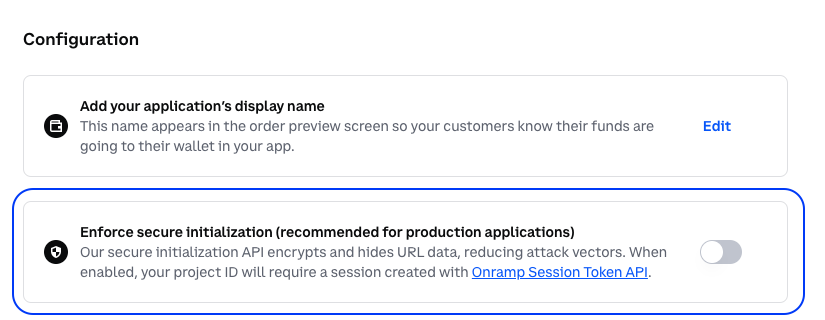
Setting up the Project
To get started, clone the Onchain Kit App Template by runningbun install followed by bun install viem.
After setting up the project, you’ll need to configure your environment variables. Create a .env file in the root directory of your project and add the following line: NEXT_PUBLIC_WC_PROJECT_ID=your_project_id_here. Remember to replace ‘your_project_id_here’ with your actual project ID. Additionally, don’t forget to configure your apiKey in the src/app/components/OnchainProviders.tsx file.
Configuring for Smart Wallets
To make the app work only with smart wallets, modifysrc/wagmi.ts:
Implementing Balance Checking
Now well implement a check on the user’s wallet to see if they have enough funds. Before we implement this check, let’s create a helper function that grabs the user’s Ethereum balance using viem. To do so, create autils.ts file in the src directory that creates a client connected to Base and fetches the user’s ETH balance:
getBalance() function into your main component file (e.g., src/app/page.tsx). You will want to add a few react hooks to fetch the balance and store it as a state variable. Add the following lines of code to your page.tsx file:
Implementing Conditional Rendering
Now that we know the user’s balance, we can then have them mint an NFT or prompt them to fund their wallet if they do not have enough ETH. The end state is to show their balance along with the appropriate call to actions like so: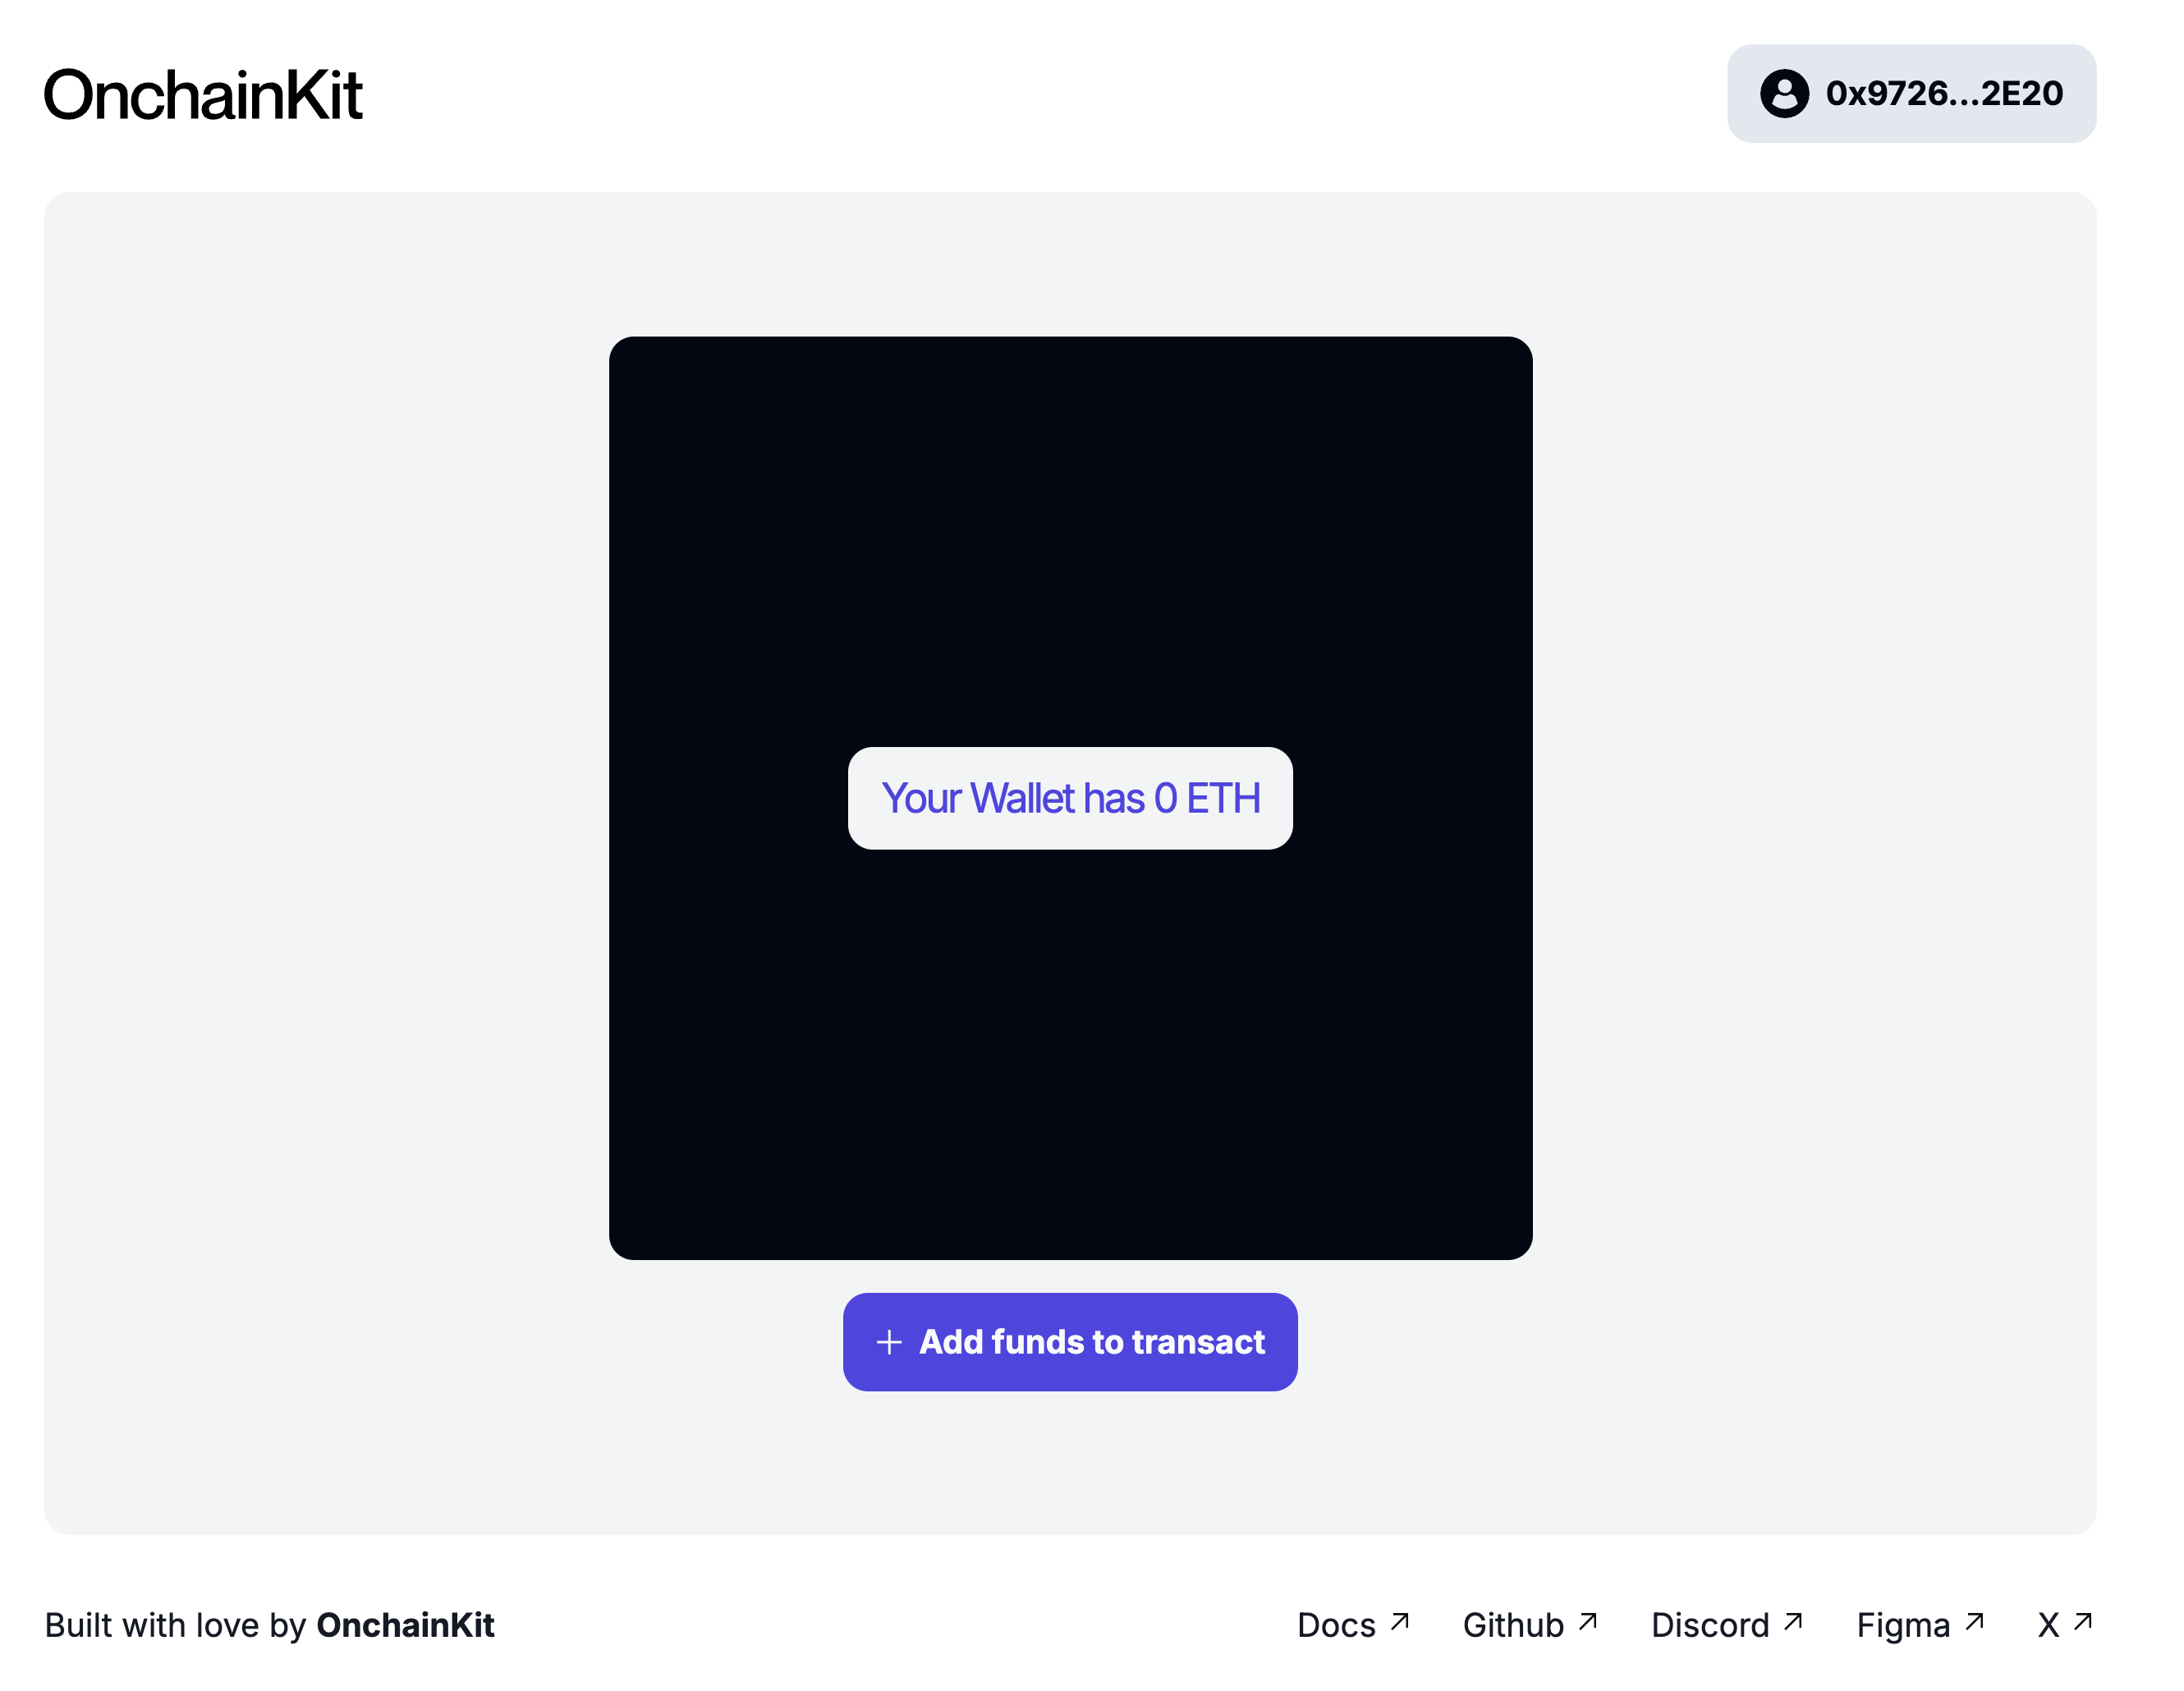
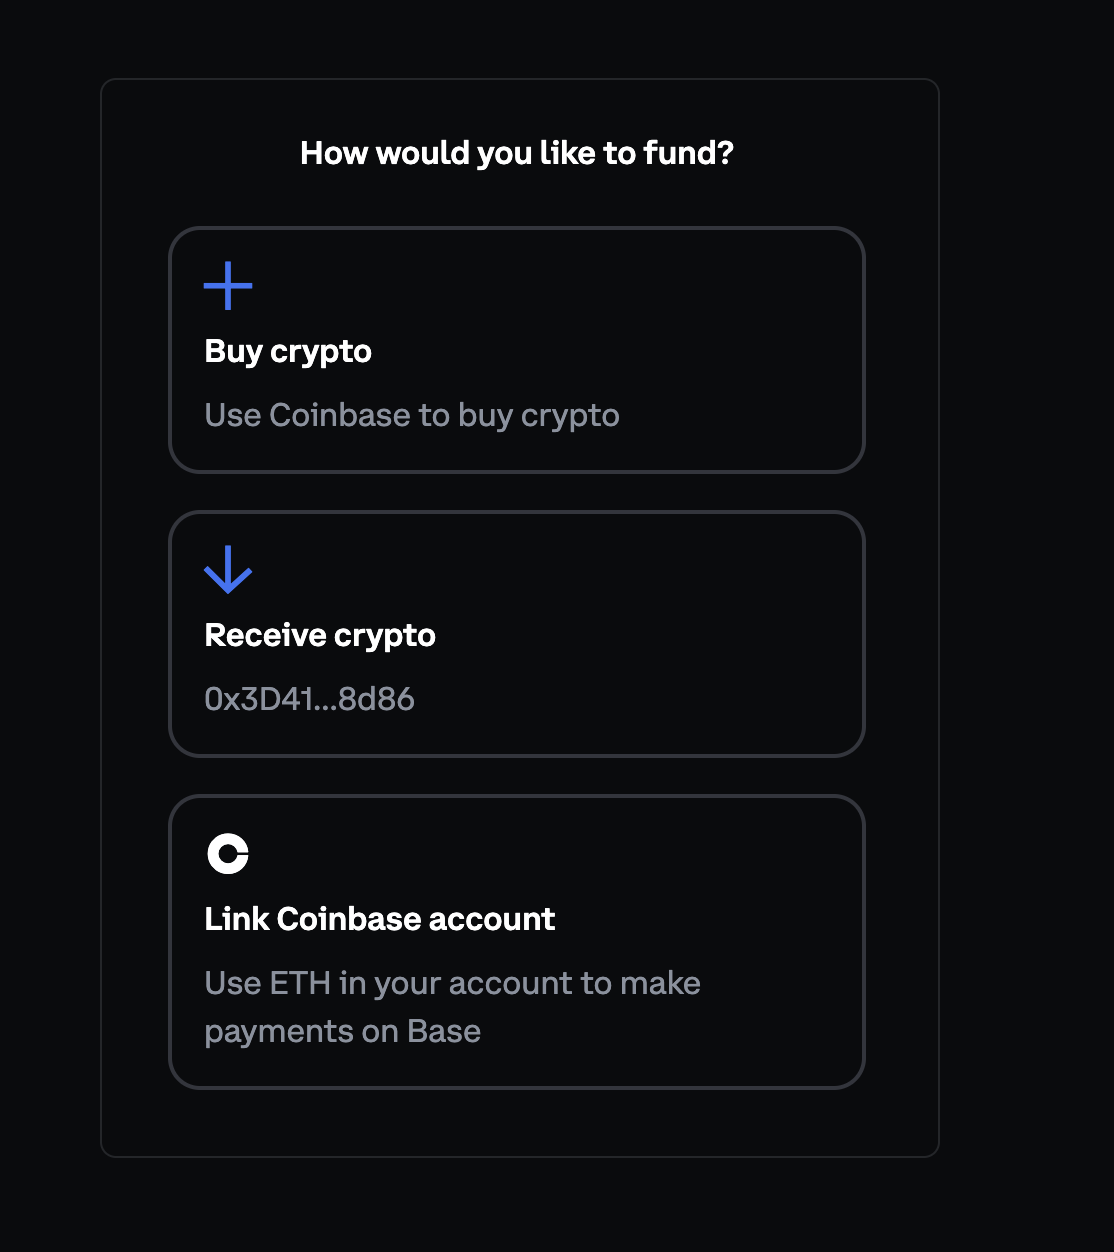
+ Add funds to transact button they will be given three options for topping up their smart wallet: